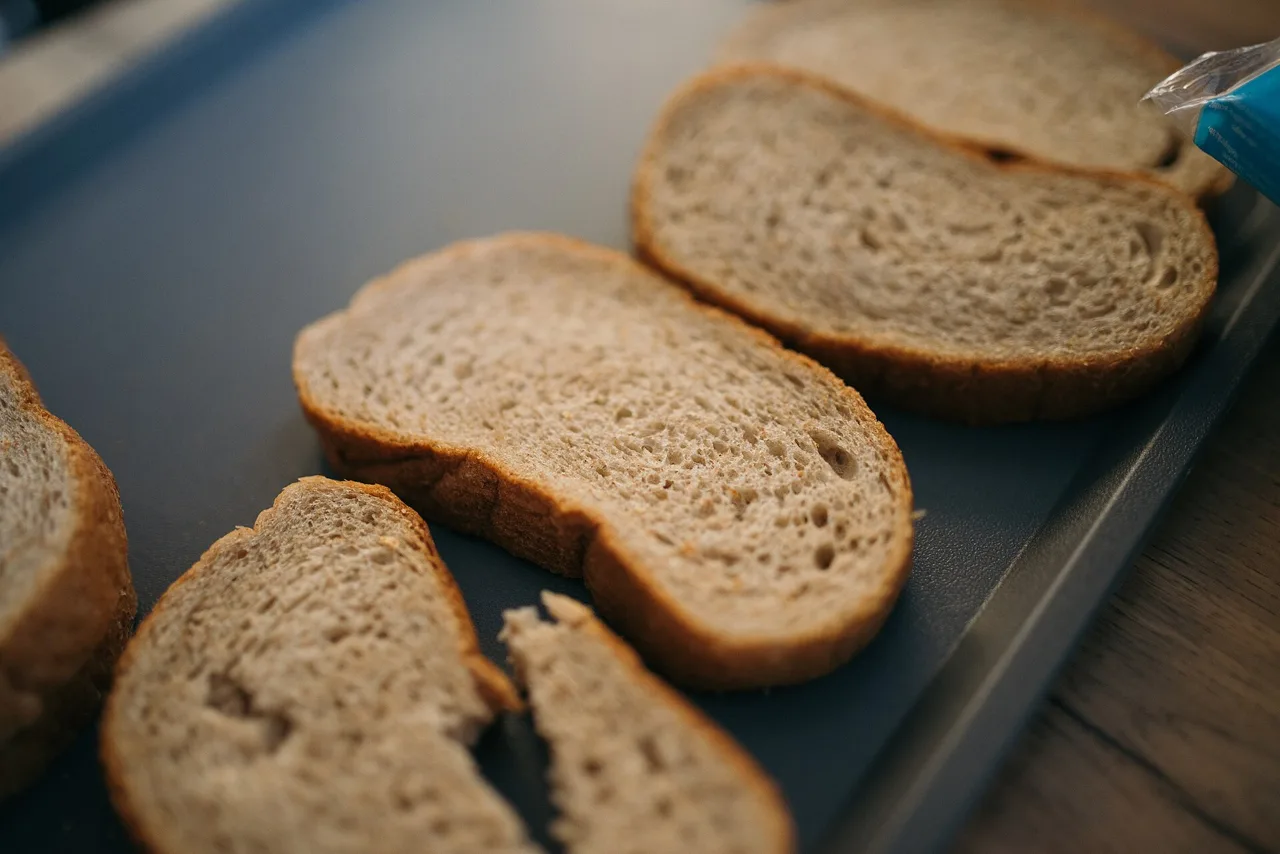
There is a particular satisfaction in pulling a loaf you made yourself out of the oven: the crust crackling as it cools, the kitchen smelling like a bakery, the first slice still warm. Baking bread at home has a reputation for being difficult, but that reputation belongs to complicated enriched doughs and sourdough starters. A basic white or wholemeal loaf needs four ingredients, one bowl and a little patience, and the method below has been designed for a complete beginner. Follow it once, and you will understand every stage well enough to repeat it without the recipe.
What You Need Before You Start
Bread asks for very little equipment. You need a large mixing bowl, a set of kitchen scales, a jug for warm water, a clean tea towel and a loaf tin or a sturdy baking tray. An oven thermometer helps if your oven runs hot or cold, but it is not essential. The ingredients are even simpler: strong bread flour, instant dried yeast, fine salt and water. That is all. Strong flour matters because its higher protein content forms the gluten network that traps gas and gives the loaf its structure; plain flour will make bread, but it will be denser and flatter. If you enjoy practical kitchen projects like this, our guide to how to declutter your home room by room is another satisfying place to start.
Choosing Flour and Yeast
For a first loaf, use strong white bread flour: it is the most forgiving and gives the classic soft crumb and golden crust most people picture. Once that works, swap a third of the flour for strong wholemeal to add flavour and fibre; wholemeal absorbs more water, so add an extra splash. Instant dried yeast, the kind sold in small sachets, can be mixed straight into the flour and is the easiest option for beginners. Active dried yeast needs waking up in warm water first, and fresh yeast, sold in blocks, must be used within days. Whichever you choose, check the date: old yeast is the number one cause of loaves that refuse to rise. The same check-before-you-buy habit applies when you eat out, as our guide to how to check restaurant food safety inspections shows. Store flour in a sealed container, and if you bake often, our article on budget-friendly ways to improve your home has more ideas for making a home kitchen work harder.
Mixing and Kneading
Weigh 500g of strong flour into the bowl and stir in 7g of instant yeast and 10g of fine salt, keeping the salt and yeast on opposite sides at first because salt can slow yeast down. Pour in 325ml of tepid water — it should feel like bath water, warm but not hot — and mix with a wooden spoon, then with your hand, until you have a shaggy dough with no dry flour left. Cover the bowl and rest the dough for ten minutes; this short pause lets the flour absorb the water and makes kneading much easier.
Turn the dough onto a lightly floured surface and knead for eight to ten minutes: push it away with the heel of your hand, fold it back, turn it a quarter, and repeat. At first it will stick to everything; resist adding much extra flour, because a slightly sticky dough makes lighter bread. By the end it should feel smooth and elastic, and spring back when you poke it. Kneading is the stage beginners rush, so set a timer and let the dough, not the clock-watching, tell you when it is ready.
The First Rise
Put the dough back into the lightly oiled bowl, cover it with the tea towel or a plate, and leave it somewhere warm and draught-free: an airing cupboard, the top of the fridge, or an oven that is switched off with the light on. In about an hour, sometimes ninety minutes in a cool kitchen, it should double in size. Judge by size, not by the clock, because dough works to its own schedule. A good test is the poke test: flour a fingertip and press it gently into the dough. If the dent springs back slowly and only part-way, the dough is ready. If it springs back instantly, give it more time.
Shaping and the Second Proof
Tip the risen dough onto the surface and press it gently into a rectangle, knocking out the biggest air bubbles. Fold the top third down and the bottom third up, like a letter, then roll it into a tight sausage shape and pinch the seam closed. Place it seam-side down in a greased loaf tin, or shape it into a round on a baking tray. Cover it loosely and leave it for thirty to forty-five minutes until it has puffed up again and feels light and pillowy. This second rise, called proofing, is what gives the final loaf its even texture, so do not skip it even if you are impatient. Heat the oven to 220°C (200°C fan) while the loaf proofs, with a roasting tin on the bottom shelf.
Baking and Cooling
Just before the loaf goes in, slash the top once or twice with a sharp knife; this controls where the loaf expands and gives the classic split crust. Pour a mug of hot water into the roasting tin as the loaf goes into the oven — the burst of steam keeps the crust soft long enough for the loaf to rise fully, then lets it crisp. Bake for thirty to thirty-five minutes until the crust is deep golden. The definitive test is sound: tip the loaf out and tap the base. It should sound hollow, like a drum. If it sounds dull and heavy, give it five more minutes.
Cool the loaf on a wire rack for at least half an hour before slicing, however good it smells. Cutting too early lets the steam escape and leaves the crumb gummy. Once you have mastered this basic loaf, the variations are endless: seeds kneaded in, a third wholemeal flour, rolls instead of a tin loaf. Baking bread at home quickly becomes a rhythm rather than a project, and few kitchen skills reward you so reliably. For more ideas to build around your baking, browse our food and home coverage, including our guide to dining in Willemstad and our Cantonese dining guide.